
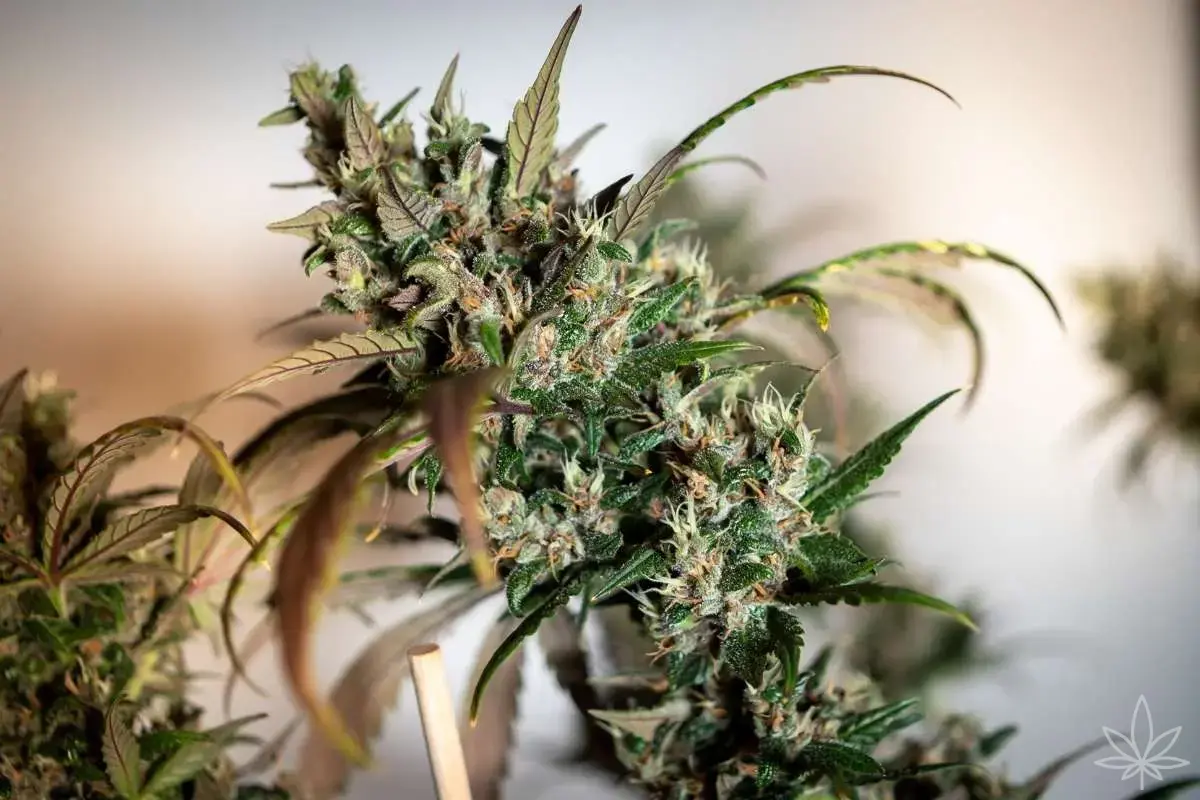
At first glance, it seems like just a “bad day” in the garden: plants are stagnant, leaves look smaller, buds are loose, and the resin just isn’t shining. Over time, this small glitch turns into a chronic decline in vigor and quality. This is the signature of Hop latent viroid (HLVd) – an RNA particle so tiny it doesn’t even have a protein coat like typical viruses, yet it can overturn your whole schedule and economics.
What Makes HLVd Different from “Typical” Pathogens?
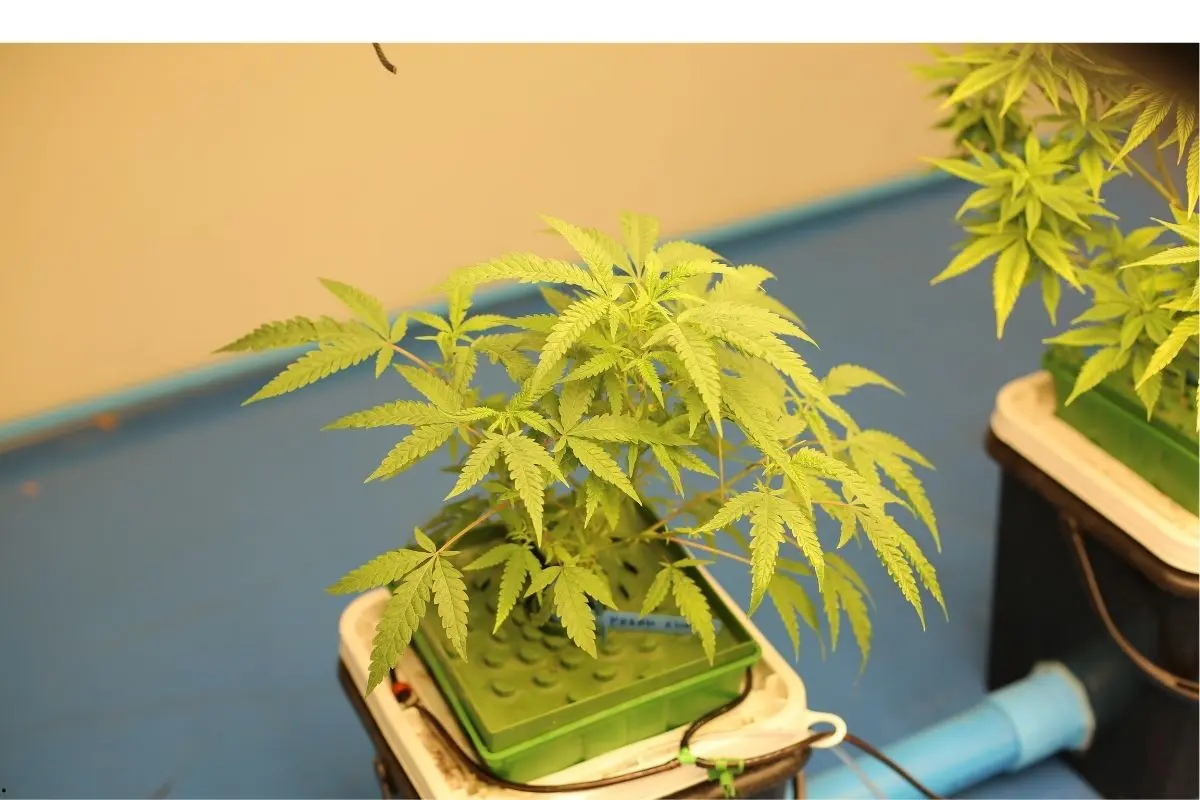
HLVd is a viroid – naked, circular RNA. It doesn’t produce proteins or grow like fungi; it simply reprograms the cell to work less efficiently. In the field, this means the plant is alive but “going nowhere”: slowed growth, stunted leaves, loose, lightweight buds, and weaker resin and terpene production. Worse still, the viroid spreads mechanically: through sap on blades, gloves, work tables, and in hydro systems it can circulate via water flow.
Symptoms – What Does “Dudding” Look Like in Practice?
There’s no one telltale sign. Instead, a bouquet of subtleties comes together:
Vigor: slowed growth, “stuck” apex, shorter internodes.
Leaves: smaller, thinner, sometimes a faint mosaic or lighter veins, uneven leaf shapes.
Buds:looser, less compact, lighter, noticeably less resin.
Yield and Quality: reduced mass and aroma.
Uneven batches: plants from identical clones grow inconsistently, almost “scattered.”
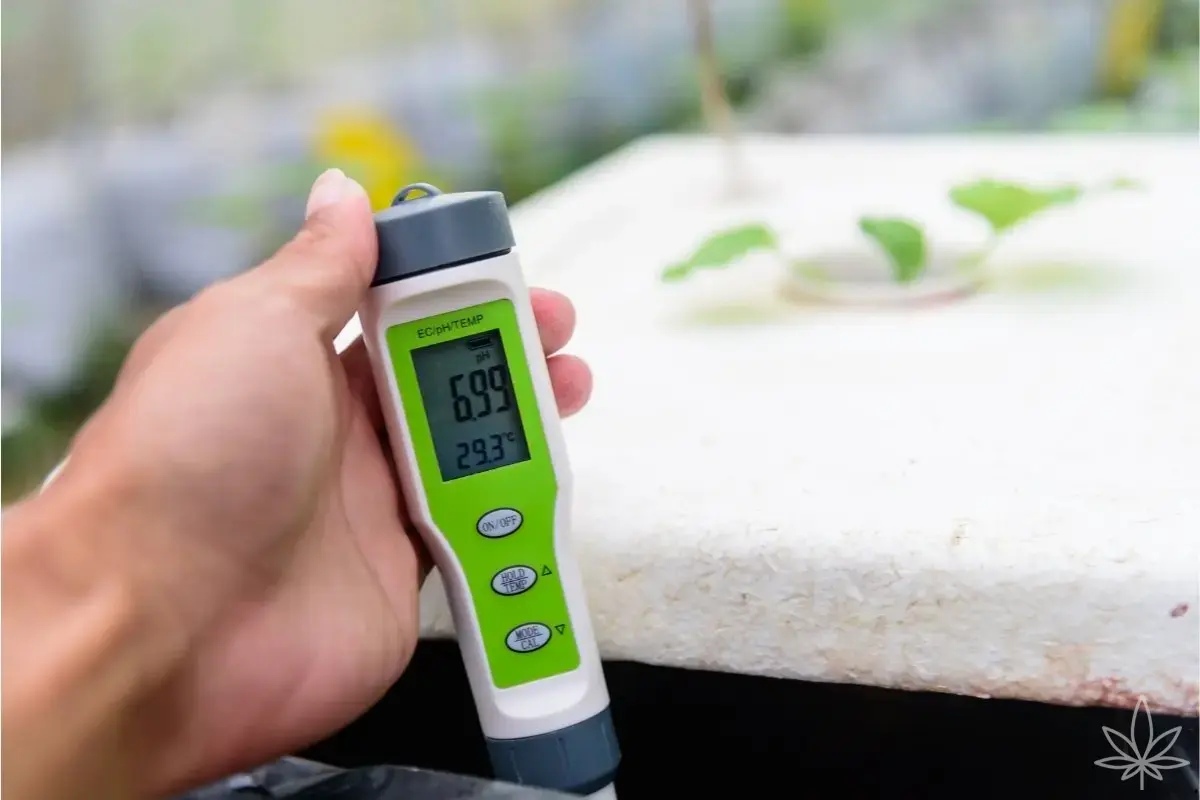
Note: At an early stage, HLVd is nearly indistinguishable from feeding errors (N/Fe/Zn), heat stress, or bad pH. Without RT-qPCR testing, every visual diagnosis is just a hypothesis.
Transmission Routes – Where Biosecurity Actually Leaks
Pruners, knives, tying wire, nets, stakes, clips: anything that cuts or squeezes fresh tissue.
Gloves and work surfaces: sticky sap moves quicker than you think.
Cloning and handling mother plants: one compromised plant can infect a whole table.
Water in recirculating systems: sap or plant fragments transfer between plants mechanically.
Incoming clones or starter plants: even healthy-looking plants may be silently infected.
The role of pests as mechanical vectors is debated; but one thing is certain: wounds and tissue mash dramatically increase the risk.
Prevention That Works – “Clean Propagation” Program
The key isn’t a “magic liquid”—it’s protocol. Here’s a system that truly closes most doors to infection:
1) Zones and Workflow Direction
Design a one-way workflow: mother room → cuttings → vegetative → flowering → post-harvest.
Separate clean propagation from other areas (dedicated tools, aprons, gloves).
2) Tool Disinfection – Actual Doses & Contact Time
Always follow product labels; below are basic industry standards:
Sodium hypochlorite (NaOCl): working solution 0.5–1.0% active chlorine (e.g., household bleach 5–6%, dilute 1:5–1:10).
Contact time 1–10 min. Rinse and dry after disinfecting (beware corrosion).
Isopropanol/Ethanol 70–80%: quick wipe on blades, min. 30–60 sec wet contact.
Peracetic acid + H₂O₂ (PAA blends):
Dose per label to get 80–200 ppm PAA (typically 0.2–0.3% concentrate).
Contact time 5–10 min; perfect for tool and boot baths.
Quats (QAC):0.1–0.2% for surfaces, 400–800 ppm QAC for footbaths, replenish every 1–2 days.
Flame/incandescence: rapid flaming of blades between plants (always check for safety and steel hardness).
Workflow rhythm:one plant = one disinfection. In practice: cut – soak – drip – work; or rotate 3–4 pruners per shift.
3) Hands, Gloves, Surfaces
Change gloves per row or table; disinfect with alcohol between.
Spray work surfaces with 70% alcohol or PAA each batch.
Work aprons should be laundered regularly; ideally dedicated aprons for the mother room.
4) Quarantine and Testing
Every new cutting/mother: quarantine for 21–28 days in a separate area + RT-qPCR from leaf/petiole.
Production mothers:screen every 4–6 weeks (pool sample from 3–5 leaves per plant).
If you spot “silent” signs: one plant looks off? Label, isolate, test.
5) Irrigation System Design
Avoid shared or recirculating loops between tables. Smaller, independent runs are safer.
Flush irrigation lines with PAA/H₂O₂ solution between cycles (10–20 min contact), then fresh water.
Differentiating: HLVd vs. Nutrient Deficiency/Stress – Quick Reference
| Symptom | HLVd (“dudding”) | N/Fe/Zn/pH Issues | Heat/Light Stress |
|---|---|---|---|
| Vigor | persistent, chronic drop | improves with feeding | episodic, after extremes |
| Leaves | small, thin, uneven | classic chlorosis pattern | necrosis/browning edges |
| Buds | loose, light, poor resin | normal once EC/pH fixed | “foxtailing”/burns |
| Response to care | no clear improvement | rapid recovery after fix | improves with climate change |
It’s only a guideline – PCR turns suspicion into certainty.
What If HLVd Is Present: 14-Day Action Plan
Day 0 – Detection/Suspicion:
Label affected plants, stop all cloning from this batch.
Switch pruners/gloves to “single-use per zone.”
Order RT-qPCR testing (pool several leaves per plant).
Day 1–2 – Segregation:
Rogue-out: Remove obviously stunted mothers.
Work on problem tables at the end of day—so sap isn’t spread across the room.
Day 3–5 – Deep Sanitation:
Surfaces, tools, bins, clips: NaOCl 0.5–1.0% (10 min) orPAA 0.2–0.3% (5–10 min).
Flush irrigation lines post-cycle: PAA/H₂O₂ per label, 10–20 min contact, then rinse.
Day 6–10 – Production Decisions:
After PCR: keep only “clean” mothers.
Don’t clone from infected lines; finish flowering plants, but segregate all related work and tools.
Day 11–14 – Reset and Hard Rules:
Reorganize staff/tool flow.
Implement "1 plant = 1 blade disinfection" in propagation.
Update PCR testing schedule (every 4–6 weeks).
“Treatment”? No Fungicide for Viroids—What Actually Helps
Rogue-out + hygiene – at the facility level, it’s the only fast “therapy.”
Thermotherapy + meristem cut (for valuable genetics): 35–38°C for several weeks in vitro + meristem tip cutting and regeneration. Specialized, but this is how clean genetics are salvaged.
Mother room reset: It’s better to restart from confirmed, clean meristem/clone stock than “patch up” the old ones.
Dosing – Practical Disinfection Table
| Agent | Where/How | Working Dose | Contact | Notes |
|---|---|---|---|---|
| NaOCl (chlorine) | Blades, clips, trays | 0.5–1.0% active Cl (bleach 1:5–1:10) | 1–10 min | Rinse, dry; metal may corrode |
| Alcohol 70–80% | Blades, spot work | ready-to-use | 30–60 sec, wet | Fast, handy between plants |
| PAA/H₂O₂ | Surfaces, footbaths, irrigation | 0.2–0.3% (~80–200 ppm PAA) | 5–10 min (lines 10–20) | Low corrosion, hits biofilm |
| QAC | Floors, entry mats | 0.1–0.2% / 400–800 ppm | 10 min | Refill regularly; not for metal |
| Flame | Blades | — | few seconds | Only with proper safety |
Mother Room Program – Keeping HLVd Out for Good
PCR indexing: start + every 4–6 weeks.
Mother age limit: rotate every 4–6 months; old mothers carry more risk.
Stock clean backups: “gene bank” in a separate, clean zone.
Records: table number, cutting date, operator, test result – without this, you’ll never track transmission sources.
Summary
HLVd doesn’t put on a show—it quietly eats away at vigor, yield, and quality. The winners are those with procedure, not those chasing “magic formulas.” One-way workflow, tough disinfection with real contact times, quarantine, and regular PCR screening are the four pillars of a clean mother room and stable production. And if the pathogen does sneak in, fast rogue-out and reset are cheaper than months of running at half-strength.


