
Before You Start: The 5 Golden Rules of “MacGyver”
- Use food-grade materials. Look for markings PP, HDPE, LDPE, PET, PVC-U for potable water.
- Say “no” to light. Paint transparent plastics (non-toxic paint) or wrap them with foil to prevent algae.
- Electricity under RCD protection (residual-current device) and use a drip loop in cables – so water drips away from the socket.
- Always do a 24h leak test on your balcony or in the bathtub before adding plants.
- Cleanliness. After assembly, rinse everything with warm water + soap, then disinfectant solution according to the label.
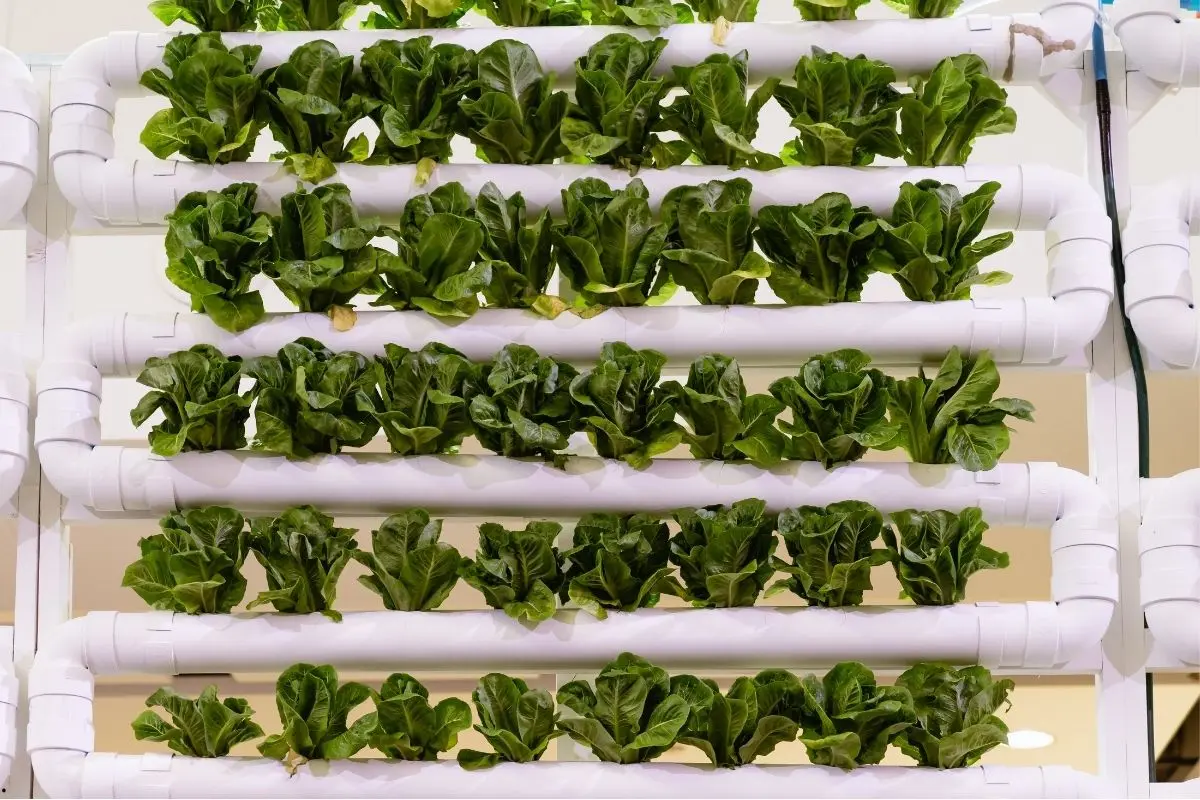
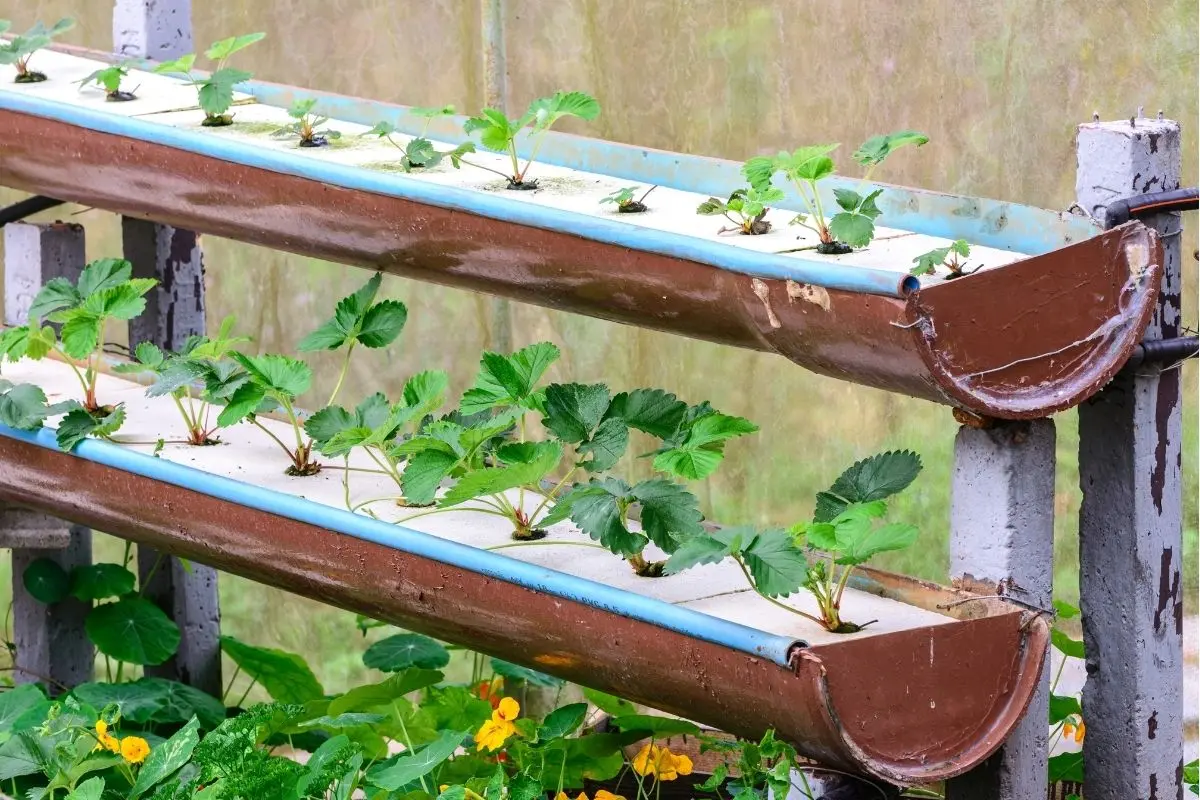
System 1: NFT with Gutters / PVC Pipes (as in the pictures)
For whom? Lettuce, herbs, strawberries – fast growth, clean, and compact.
Idea: A thin layer of nutrient flows along the channel bottom with a slight slope, roots rest “on the film” and breathe.
What to Buy (sources)
- PVC gutters 100–125 mm with end capsor PVC-U sewer pipes Ø110 mm + end plugs (DIY store: Castorama/OBI/Leroy).
- Circulation aquarium pump 600–1200 l/h (pet shop/online).
- Hose 12–16 mm for supply + fittings/quick-connects (plumbing/gardening).
- Bulkheads 20–25 mm for drainage (plumbing supply).
- Reservoir container 40–80 l with lid (HDPE) (DIY/online).
- Net pots 50–80 mm + clay pebbles/rockwool (garden center).
- Hole saw bits 51/60/76 mm (hardware store).
- Frame: aluminum profiles/metal rack or shelving (DIY).
Step by Step Assembly
- Plan hole spacing in channels: every 20–25 cm. Last hole at least 10 cm from the end.
- Drill holes with a hole saw (clean cuts, no jagged edges), smooth with sandpaper.
- Set slope 1–2% (1–2 cm per meter). Place channels on rack shelves – each shelf slightly lower.
- Drainage: at the lowest end install bulkhead 25 mm → hose flows back to the reservoir.
- Supply: pump → hose 12–16 mm → “T” splitter → fittings above channel inlets (drip/stream).
- Seal ends (end caps/plugs) with aquarium silicone after full cure.
- Block light: paint channels/pipes with matte plastic paint, or wrap with black foil + white tape (cool & clean).
- Fill reservoir (nutrient), start pump – adjust flow so it runs as a thin film (not a river).
Diagram (side view)
[SUPPLY] ->   _________      _________      _________
               |       |---->|       |---->|       |----> [DRAIN -> RESERVOIR]
   (pump)      |_____/_|     |_____/_|     |_____/_|
               slope 1–2%    slope 1–2%    slope 1–2%
   O O O O      · holes for net pots (every 20–25 cm)
Starter Parameters (general, for greens)
- Reservoir level: 2–3 cm below drain (room for slope).
- Flow per channel: 1–2 l/min (lettuce); bigger plants – 2–3 l/min.
- Solution pH: 5.8–6.2 (standard hydro).
- Cleaning: once/week wipe channel with sponge-on-stick; between cycles rinse + disinfect per label.
Estimated cost: €75–150 for 3–4 channels × 1.5 m (with pump, reservoir, and rack).
System 2: DWC with Buckets and Totes (simple and effective)
For whom? Herbs, tomatoes, peppers; roots submerged in nutrient, air provided by diffusers.
What to Buy
- 20 l food-grade bucket with lidor60–90 l HDPE tote.
- Large net pot 140–200 mm (inserted in lid) + clay pebbles.
- Air pump with 1–4 outlets + air stones + silicone tubing (aquarium shop).
- Check valve for each airline (prevents backflow into pump).
- (Optional) Water circulator 200–400 l/h for mixing.
Assembly in 15 Minutes
- Cut hole in lid for net pot (hole saw/knife).
- Set up aeration: stone on bottom, to pump through check valve (arrow pointing into bucket).
- Block light: wrap container walls with foil/tape.
- Fill with nutrient: initially so that 1–2 cm touches net pot bottom; later lower 2–3 cm once roots hang.
Cross-section Diagram
 Lid ──(net pot)──
     |   roots ↓
     |~~~~~~~~ Nutrient (60–90% of bucket)
     |    (air stone)
     |____ tube → check valve → air pump
Estimated cost: €25–55 per site (depending on pump and size).
Hacks:
- Instead of one large pot – make a multi-cup lid (4–6 small pots).
- If water warms in summer: wrap in white foil + add cardboard “tent” over bucket (shade).
System 3: Passive Kratky Box (zero pumps)
For whom? Lettuce, basil, pak choi – fast growers that like calm.
What to Buy
- 30–60 l HDPE container with lid.
- Net pots 50–80 mm + “grid” lid (or drill holes in lid).
- Starter medium: sponges/fiber/clay pebbles.
Assembly
- Drill holes in lid: spacing 15–20 cm.
- Fill with nutrient to 1–2 cm below pot bottoms – at start it may touch, later plants will drink and create an air gap.
- Block light → no algae.
Diagram
 Lid (holes)   o   o   o   o
 Net pots ↓   ↓   ↓   ↓
 ================= Nutrient =================
 (air gap grows as plants drink)
Estimated cost: €15–30 per container (4–8 plants).
Where to Get Parts (easiest)
- DIY store: gutters/pipes, elbows, end caps, profiles, hole saws, aquarium silicone.
- Plumbing/gardening: hoses, fittings, ball valves, bulkheads.
- Aquarium shop: pumps, stones, check valves, thermometers.
- Garden center: net pots, clay pebbles, starter cubes, simple pH/EC meters.
- Online: splitters, quick-connects, racks, matte plastic paints.
Typical Sizes and Holes (cheat sheet)
- Net pot 50 mm → hole saw 51–52 mm.
- Net pot 76 mm → hole saw 76–78 mm.
- Bulkhead 25 mm → hole 32–34 mm (check model).
- NFT slope 1–2%.
- Vertical spacing (lettuce): 25–30 cm, for bigger herbs: 35–40 cm.
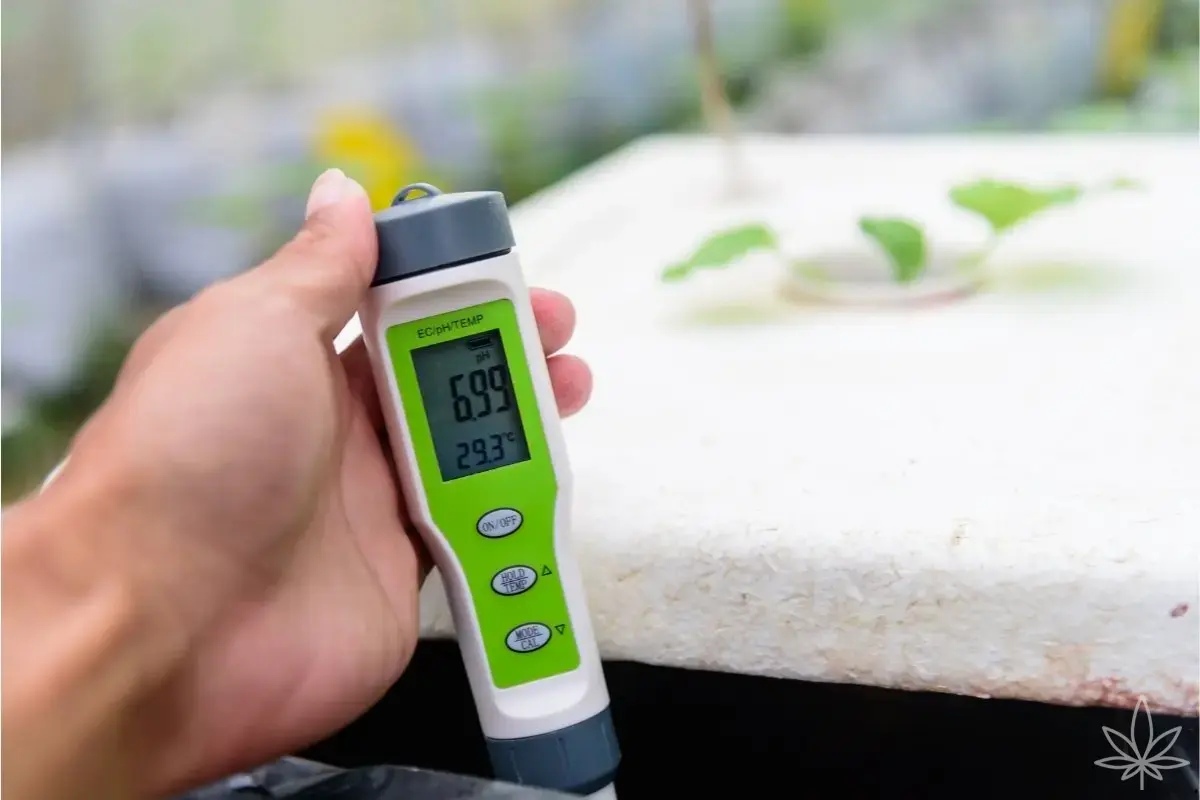
Nutrient, pH, EC – Quick Guide (universal)
- pH: 5.8–6.2 (most hydro plants like it).
- EC: leafy greens ~0.8–1.4 mS/cm; fruiting crops usually higher (depends on species/phase).
- Water: ideally soft/RO + own mixing; at least dechlorinate tap water (carbon filter).
- Changes: NFT/DWC every 7–14 days; Kratky – top up with water, full change between cycles.
Maintenance and Cleanliness (minimum plan)
- Daily: quick look – level, temperature, pump humming.
- Weekly: wipe channels, check hoses for algae.
- Between cycles: drain, wash (detergent), rinse, disinfect per label, rinse, dry.
Common Mistakes and Fixes
- NFT slope too shallow → standing water. Fix: lift channel inlet with spacers.
- See-through reservoir → algae. Fix: foil/paint + lid.
- No check valve on airline → backflow floods pump. Fix: €0.50 part saves nerves.
- Drain too narrow → overflows. Fix: drain larger than inlet.
- Drilling without backing → jagged edges. Fix: place board under, drill slowly.
Mini FAQ (for clarity)
Are rain gutters safe for nutrient?
Yes, if it’s PVC-U for water (no plasticizers) and you wash + lightproof them.
What water level in DWC?
Start: touching pot, later leave 2–3 cm air gap.
Can I drill without a hole saw?
Possible, but not worth the hassle. Hole saw €5–10 saves edges and fingers.
What about pump noise?
Anti-vibration mat + silicone drop under pump. Drip loop on cable = safer.
Two Ready-Made Projects (with shopping list)
A) “12-Plant Lettuce Rig” (NFT, 3 channels × 1.5 m)
- 3× PVC gutter 100 mm + 6× end caps
- 1× pump 1000 l/h + 13 mm hose + “T” + 3 fittings
- 3× bulkhead 25 mm + 25 mm drain hose
- 1× 60 l container + lid
- 12× 76 mm net pot + clay pebbles
- Rack/frame + screws, plastic paint
Work time: 3–4 h, budget: ~€115–150
B) “Silent Farmer” (DWC, 60 l tote, 6 plants)
- 1× 60 l container + lid
- 6× 76 mm net pot + starter sponges/clay pebbles
- Air pump 2–4 outlets + 2× disc stones + tubing + 2× check valves
- Tape/foil to block walls
Work time: 45–60 min, budget: ~€38–55
Pro Tips “MacGyver Style”
- Label hoses and channels (MARKER: supply/drain); in a month you’ll thank yourself.
- Garden quick-connects (green “click”) make NFT like LEGO for adults.
- Velcro straps instead of zip ties – 1000× easier for servicing.
- Matte white foil on channels = less heat, less algae, more reflected light.


